Automate your GitHub workflows with Probot
When we talk about version controlling these days, the first thing that comes to our mind is ‘git’. Among many git vendors, GitHub is one of the most popular git service providers because of its flexibility and the functionalities. GitHub App is one reason which makes GitHub significant.
What is GitHub App?
GitHub App extends and improve the existing git workflows.
GitHub’s definition for GitHub App: “GitHub Apps provide a service to an entire organization and use their own identity when performing their function. They can be installed directly on organizations and user accounts and granted access to specific repositories. They come with granular permissions and built-in webhooks. GitHub Apps are first-class actors within GitHub.”
But handling a GitHub app is a difficult task because of handling authentication, receiving and validating webhooks are a headache to manage. As a solution for this ‘Probot’ has been introduced.
What is Probot?
Probot is a framework for building GitHub apps which handles almost all the background tasks itself and allows us to focus on our app’s functionality.
Let’s build a Probot Application
You could follow the Probot official documentation here. I’ll do a recap of what the documentation says about creating a Probot and provide you with some clarifications where it was difficult me to proceed.
Prerequisites: NodeJS 7.6 (Minimum)
Install create-probot-app globally by running following command.
npm install create-probot-app -g
create-probot-app will make it easier for you to get started with Probot because it sets all the necessary configurations and dependencies for you. Then let’s create our first Probot App using following command.
create-probot-app <app-name>
This will require few details regarding the Probot Application that we are going to create.
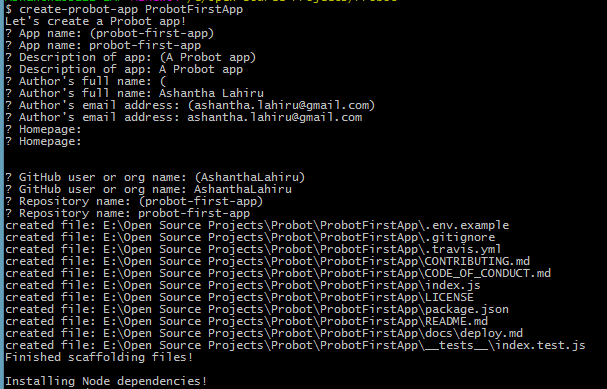
It should automatically install all the node dependencies, in my case it failed to do so. If so you could go into the app folder just created and install the dependencies using ‘npm install’.
Now you have a basic Probot App. Let’s configure the GitHub App to your your Probot App.
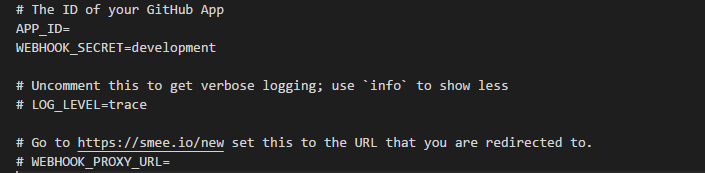
Inside of your app folder you could see file called ‘.env.example’. You should convert it to ‘.env’. By default it looks like this.
You should fill the APP_ID and WEBHOOK_PROXY_URL to configure your GitHub App in your Probot App. Let’s find out where you can find them.
Go to Smee.io and start a new channel there. Then you can see the Web Proxy Url of the channel you just created. You can copy that url and paste it in WEBHOOK_PROXY_URL under .env. (By default WEBHOOK_PROXY_URL is commented, make sure to uncomment it).
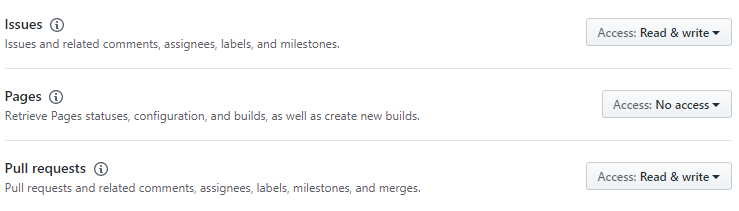
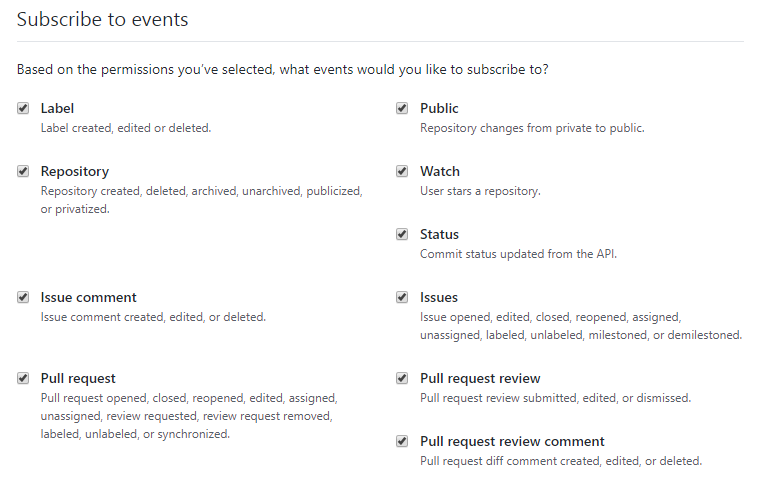
You can follow this link to create a GitHub App. There use Webhook Url same as the WEBHOOK_PROXY_URL we just created and Webhook secret as ‘development’. And make sure you give the access permissions for the events according to your need and subscribe to those events.
Things to notice when creating the GitHub App
Eventhough ‘Homepage url’ is necessary to create your app, you could give any url. Webhook secret should be same in both .env file and GitHub App. Otherwise it’ll give you the following error when you run the app.
ERROR Probot: No X-Hub-Signature found on request
After creating the Probot App you could see the following details under General.
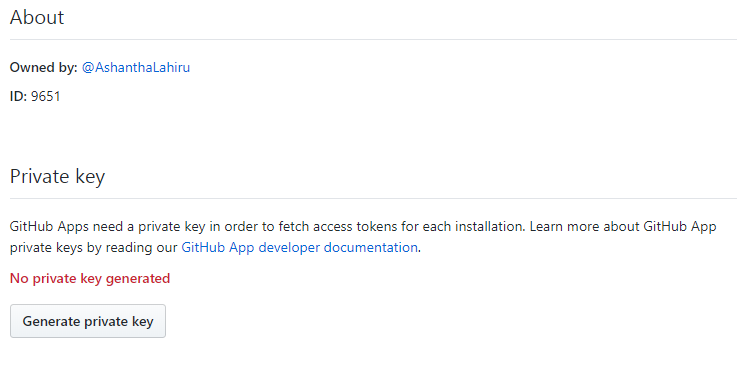
Paste above ID in APP_ID under .env file. And generate a private key. It will look like this. ‘
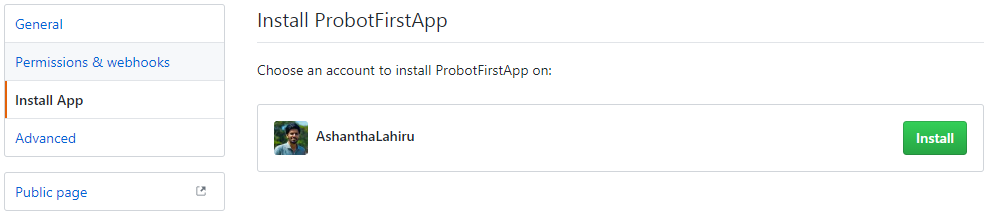
Then install your GitHub App on a repository which can be used to test the app.
If you are doing this for the first time, you might feel that this is a long process. But this is the summary of what we did up to now.
- Creating base app using create-probot-app
- Starting a Smee.io channel
- Creating GitHub App
- Configure the .env according to GitHub App and Smee channel webproxy url
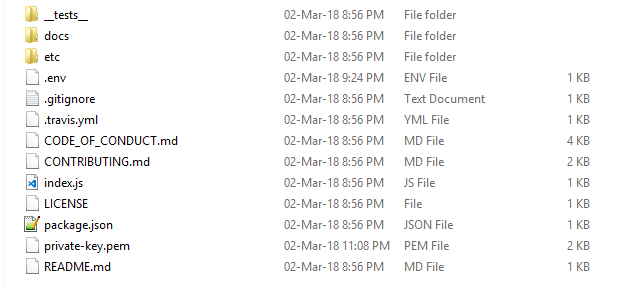
- Download private key and store it in app folder
Let’s focus on building the business logic of the Probot App. I’ll use a similar example to which documentation provides.
If you check your index.js file you could see the following result.
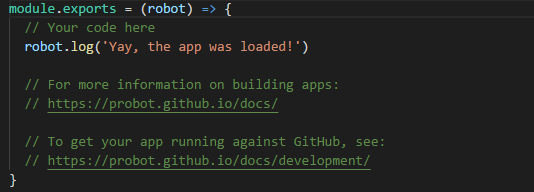
This is the place where your business logic resides on.
robot.on('<event>', async context => {
    // <event> can be any GitHub events like opening a issue,
    // creating a pull request
})
robot.on can be used to listen to the webhook events that GitHub App triggers. You could focus on particular events that you are interested in.
As a simple use case assume that you want to add a thanking comment when someone creates an issue. You could achieve this by following few lines of code.
module.exports = robot => {
  robot.on('issues.opened', async context => {
    let bodyMsg = "Thank you for opening a issue!";
    const params = context.issue({body: bodyMsg});

    // Post a comment on the issue
    return context.github.issues.createComment(params);
  })
}
In here Probot listens to the event ‘issues.opened’, once the particular issue is triggered, the callback function will be called. ‘ context.issue({body: bodyMsg})’ method will inject additional details (that need to create the comment) and assign it to a variable (in here it is ‘params’). Params object looks like this.

Probot use GitHub REST API client to handle the API calls. Therefore issues.createComment(params) method is called to create the comment on the GitHub issue.
Congratulations, you just completed your first Probot App. So let’s run this using ‘npm start’. (If you want to log the details of the events just uncomment ‘LOG_LEVEL=trace’ in .env file).
How to test Probot App
- You can test creating actual events in GitHub GUI.
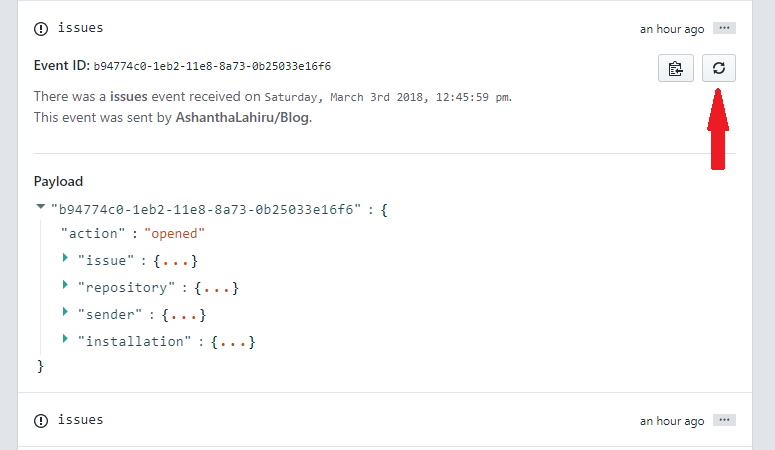
- You can Simulate Webhooks
- You can go to Smee channel you created and click on ‘Redeliver this payload’
As you just saw Probot will allow you to manage and automate workflows in GitHub in an easy way. Enjoy with Probot.
You can find more details about Probot from here.